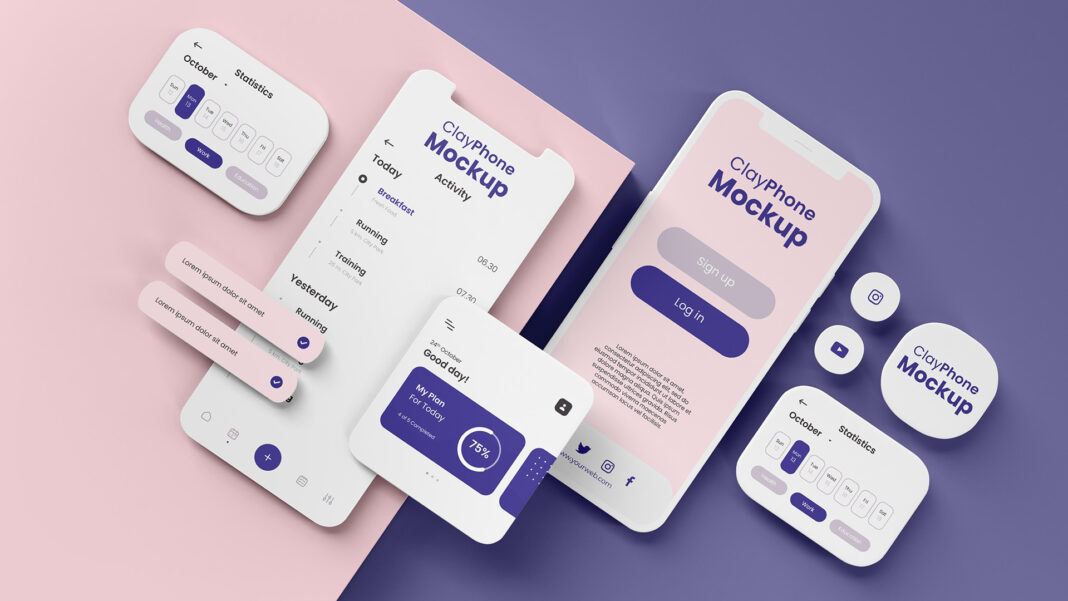
Designers, product managers, developers, and other product creators start their projects with prototyping since websites or mobile apps prototyping has been taken as the best, fastest, and even cheapest way to test app ideas before moving to the next app development process smoothly.
From ideas to lifelike prototypes, there are various types of prototypes that can help you visualize ideas, and fully test the viability and usability.
If you aren’t familiar with prototypes, this article will give you a guide to the 5 main types of prototypes, what their purpose and usage are, and how you can choose them to level up your product. Some extra tips and tricks help you create a better prototype.
What is prototyping?
App prototyping is the process of building a website or mobile app sample that shows off the main structures, user flows, interactions, user interfaces or other details, so you can validate your design draft of the actual product and iterate it to the best version.
All app prototypes work just like a visible or even functional model. They help you better organize all interface elements, test the details, find and resolve all possible issues in advance.
Making prototypes is an important way of collecting feedback from stakeholders and real users to see how usable the website or app and see the effectiveness of solving the initial problem set out by the client or company.
So, app prototyping has become an essential step for designers, developers and product teams to create a better product.
5 types of prototyping
When working on an app, UI/UX designers and product teams often use different types of prototypes depending on where they are on the design and development timeline. So we’ve compiled 5 types of prototypes that you can use to help streamline your product design process:
Sketch and diagrams
- When to use: User and market research stage, the brainstorming stage
- Usage: Analyze user flows and record all rough ideas
To better understand their audience, most designers and product teams often spend time doing user and market research before starting to design their project. When teams start to analyze use problems, pain points, product needs and competitors solutions, some great ideas may pop up.
When these ideas come up, you can quickly capture them by sketching them out on paper for later reference.
To capture all ideas when they come, remember to sketch anything that pops out in your mind like app user flows when doing some user and marketing research.
At the brainstorming stage, sketching everything directly on paper makes it easy to present ideas clearly, better communicate with others and get a far more creative design draft.
And you don’t have to focus on all interface details at this early prototyping stage.
Paper prototyping
When to use: Initial idea iteration and presentation
Usage: Iterate ideas on your own and convey your rough ideas to others
These are more in-depth than simple sketches. After the brainstorming stage, you want to add in more detail and iterate ideas and some designers opt for paper prototyping to create a tangible app. These are made with paper and pen and can be made quickly to simulate testing their real-life app.
Let’s first look at a paper prototype example:
In the image above, you can see the paper-made prototypes. These present more detailed interfaces and even showcase simple interactions between pages in the app or website. All you need to do is create every paper interface to demonstrate and showcase the functionality of the app manually.
Low-fidelity prototyping
When to use: Start to create a digital copy and define the macro design direction
Usage: Visualize details of your app, collaborate, test and iterate with your team
After creating and iterating on paper prototypes, you will want to translate those ideas into a digital prototype so that more stakeholders – PMs, developers, clients and other designers can participate in the next stage of the process.
Most teams start with low-fidelity prototypes. Only include basic elements that show off the general layout and interface to avoid wasting time.
Low-fidelity prototypes are digital designs with very simple interactions, general user flows, along with basic features and details. Without all these in-depth visuals and details, designers can focus on the core foundation of the app. Low-fi prototypes, similar to sketches, are great tools to gather early user feedback on more general foundational design features.
In the whole product design cycle, wireframes are one of the most typical low-fi prototypes.
Wireframes – present the basic structure of web or mobile apps
A wireframe acts just like a blueprint of a digital product. It showcases the main structures of a website or app, including key pages, page flows, layouts, forms, architectures and more. Wireframes also help keep the focus only on macro interface details, rather than all smaller details.
Medium-fidelity prototyping
When to use: Polish UI and visual details
Usage: Test and determine specific UI and visual details
In comparison to wireframes, medium-fidelity prototypes bring a more detailed design structure with more specific design details that can help designers further test their app or website. These are often static designs with a general outline of what the final product may become. Medium-fidelity prototypes are often seen in mockups.
Mockups – present more UI and visual elements like colors
In general, mockups are static wireframes with much more UI detail, including colors, buttons, texts, layouts, images and more. These often look similar to the final product except they lack realistic interactions, animations and transitions.
Let’s look at a fashion website mockup:
Mobile app mockups are often static digital prototypes with more UI and visual details. They help designers further test the visual details with ease.
High-fidelity prototyping
When to use: Determine the final design draft
Usage: Present all possible details, test them out, find and resolve all possible issues
Hi-fi prototyping is the most common type of prototyping seen on websites such as Dribbble or Behance. These allow you to try out your designs and resolve any issues you come across when doing usability testing. To have a good app or website you need good design and good navigation, to ensure you do, making a hi-fi prototype lets you try out how your app works and transitions from page to page.
In comparison to medium-fi prototypes, hi-fi prototypes include all UI visual details. Furthermore, they are interactive, allowing users to implement interactions, animations and transitions to test out a like-like representation of their app. Before being shipped off to development the designer can do user testing on how users interact with the final product before final iterations are completed.
Let’s see how a high-fidelity website prototype works:
How to choose the right type of prototypes?
As we’ve learnt, different types of prototypes have different uses and you should always try to choose the right one based on your needs.
For example, if you are browsing over tons of websites and get inspiration, you can quickly sketch your ideas to capture all of your thoughts in quick succession.
However, when teams work on a project together that needs to go into development, especially one with all of the fine details drawn-out, hi-fi prototypes are the way to go, with the ability to get all the important design details in there along with the added ability to fully test out your app for any usability issues.
All prototypes have their own uses, it’s important to always find the most suitable prototype for what you’re trying to achieve, from mapping out basic ideas to designing full-blown app prototypes.
How to make a prototype?
To make a sketch of your app all you need is a pen and paper. But once you try to make digital apps, using low, medium, or hi-fi app prototypes, you will need a digital prototyping tool like Mockplus.
In this era of digital design, Mockplus helps you and your team turn all of your ideas into lifelike prototypes, helping you go from basic wireframes to realistic prototypes, allowing you to iterate together and test the usability throughout your process.
With Mockplus, you get a huge built-in library of UI components, icons and templates all ready to use so you and your team can get started quickly. The Vector tools help you create your own components, logos and other illustrations with pixel precision. With task management and role-based permission, you can manage your projects and teams in a breeze.
Tips and tricks to make a better prototype
When you create prototypes to test your ideas, don’t forget the below tips:
- Provide as many details as possible: When testing prototypes, the more details you add to the prototype the better. The earlier your app’s details can be tested reduces the chance that users encounter issues in the future. Details make a huge difference.
- Make your interface and user flow as simple as possible: No matter what type of website or app you are trying to build, the goal is to attract users (and increase revenue). Nothing should take attention away from that. To get the users attention on your main objective, keep user flows and interactions simple and intuitive for users to be able to find their desired information quickly.
- Try to create and follow a design system: When working with your team, a unified design system where brand assets are collected helps keep consistency and reduce errors when making a prototype. Reusable images, colors, components, layouts, and more can all be stored in one easy-to-access place, saving you time and effort.
- Try to test on a real PC and mobile device: To get a real gauge of user scenarios you should test out your prototype on a real PC or mobile device to see how your prototype works in the real world. If there are any issues you can go back and iterate quickly. Mockplus has a mobile mirroring app for both iOS and Android as well as on the web so users can test their prototypes in all situation
- Keep testing and iterating: Once you finish your final product don’t stop there! Testing and iterating won’t finish even after shipping your product, your team will need to keep on top of users’ evolving needs and adjust to that accordingly. Prototyping lets you quickly test and iterate your updates.
Wrap Up
Prototypes facilitate the design and development process of an app or website. Different types of prototypes bring different benefits to designers and teams.
We hope this article helps you choose the right type of prototypes that help save you time and give you better results.


